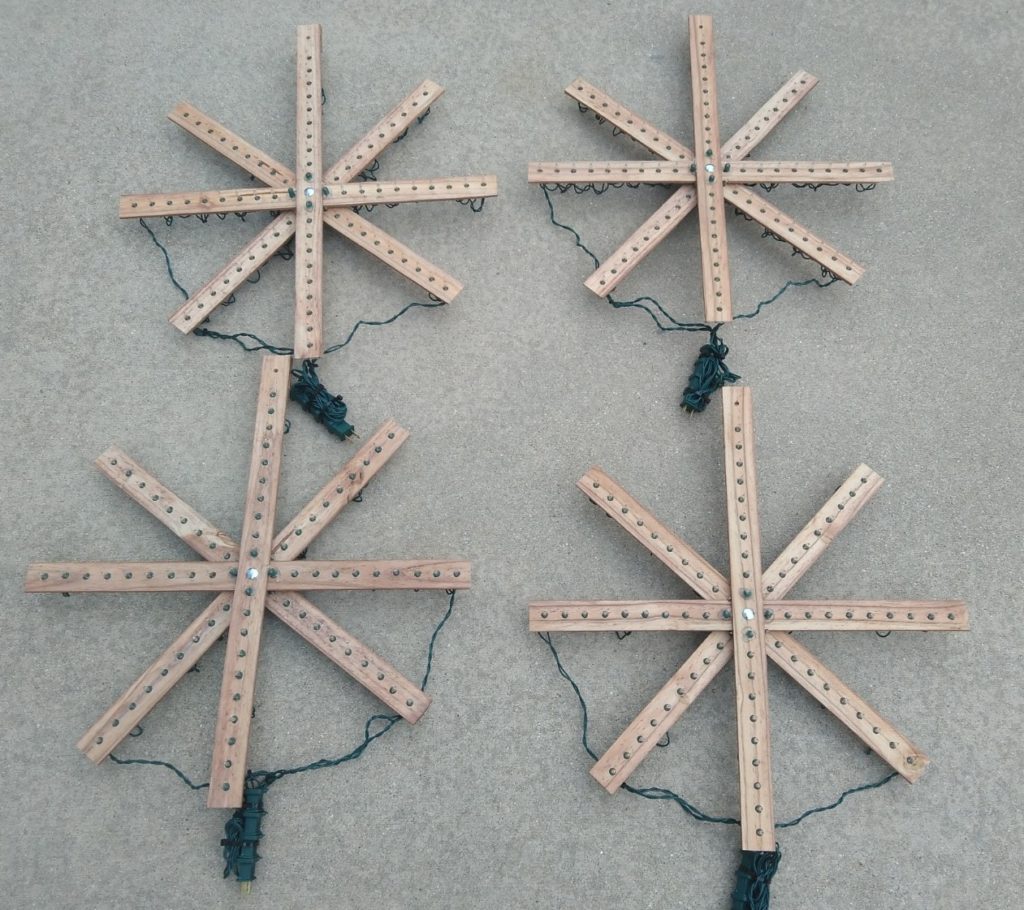
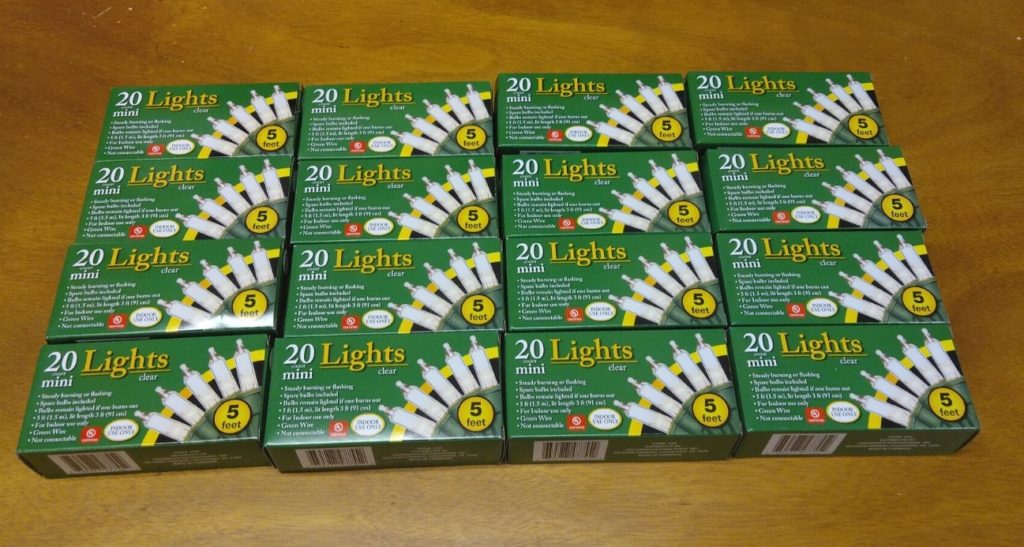
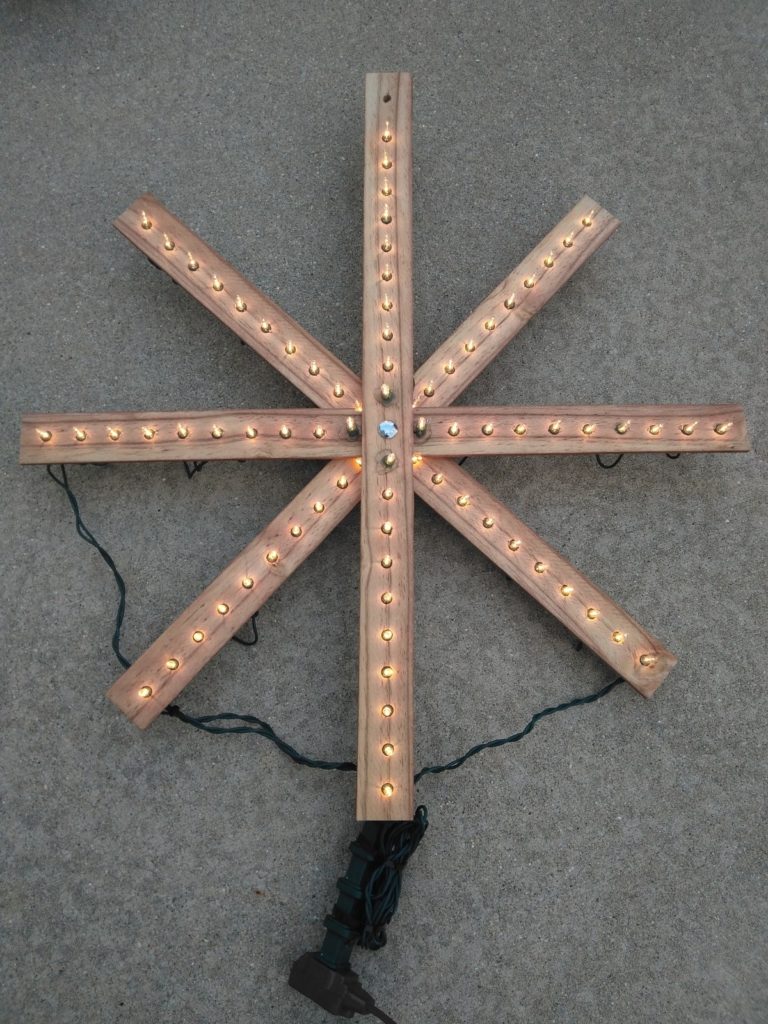
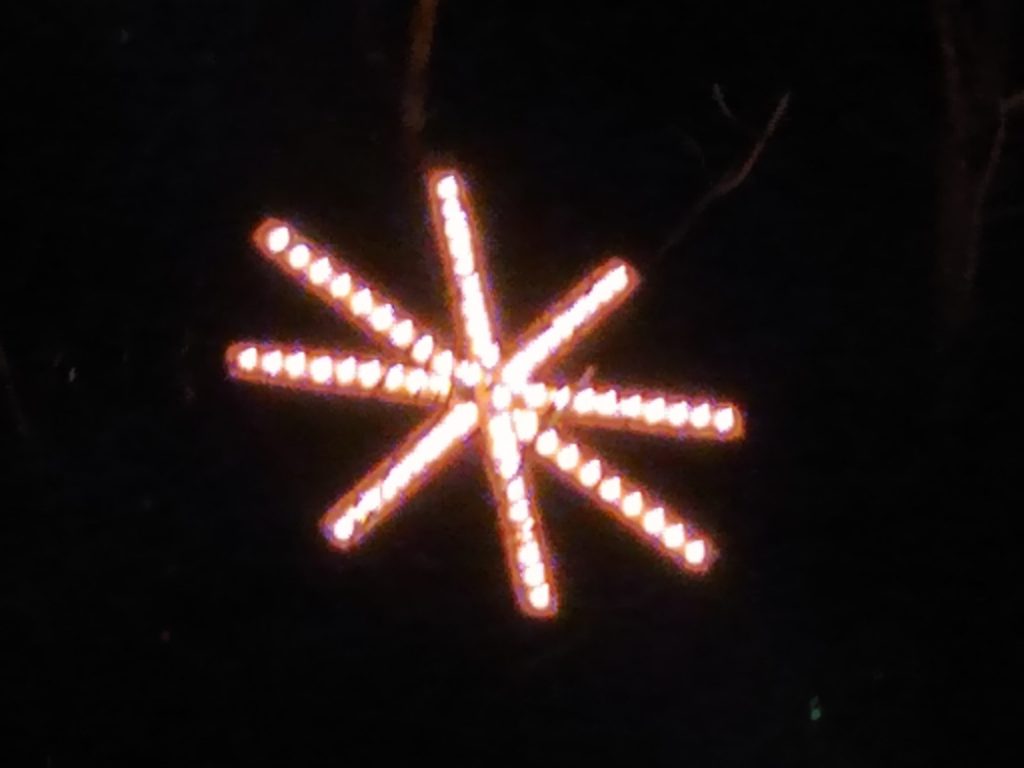
Here are the outdoor Christmas decorations that I made this year. Each star is made with 4 ea 1 1/4″ x 24″ x 1/4″ wood slats and 4 strands of lights each having 20 mini lights. I decided on 20 light strands so that each section of the star would use the entire stand and avoid the complication of trying to make the strand wiring jump from one section of the star to another mid strand. I purchased the light strands from the dollar store for $1.25 each.
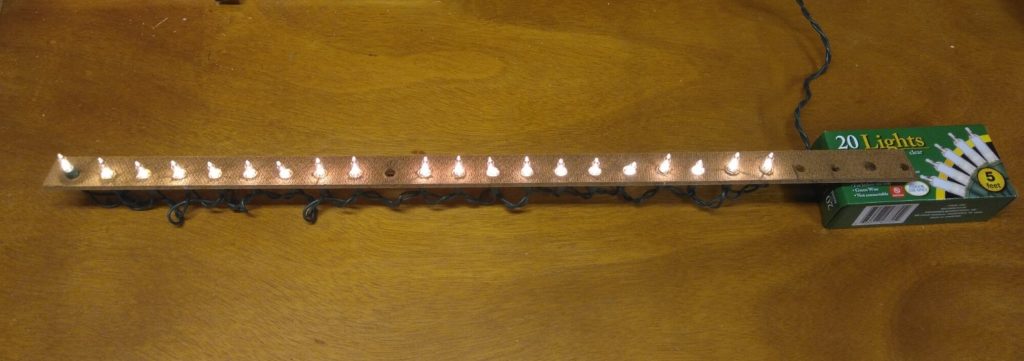
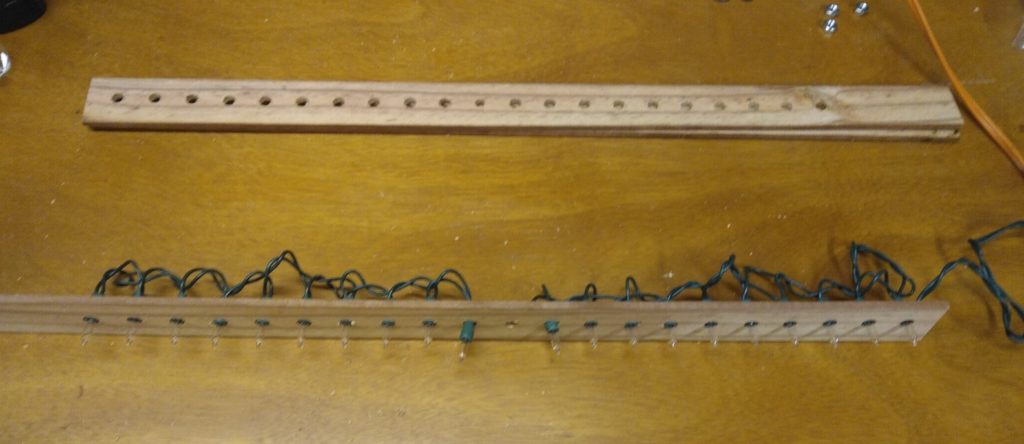
To start creating the stars, I used a scrap piece of pegboard as template. On standard pegboard, the holes are spaced apart 1″ on center. I considered making alternate templates with the holes farther apart, but the wire spacing between the between the bulb sockets on the strands that I had would not really support this. After enlarging the holes so the light sockets would fit snugly, I inserted all the lights in the strand while leaving an open hole in the center. This seemed like it would work, so I proceeded to use the template to drill the wood slats that would become the stars.
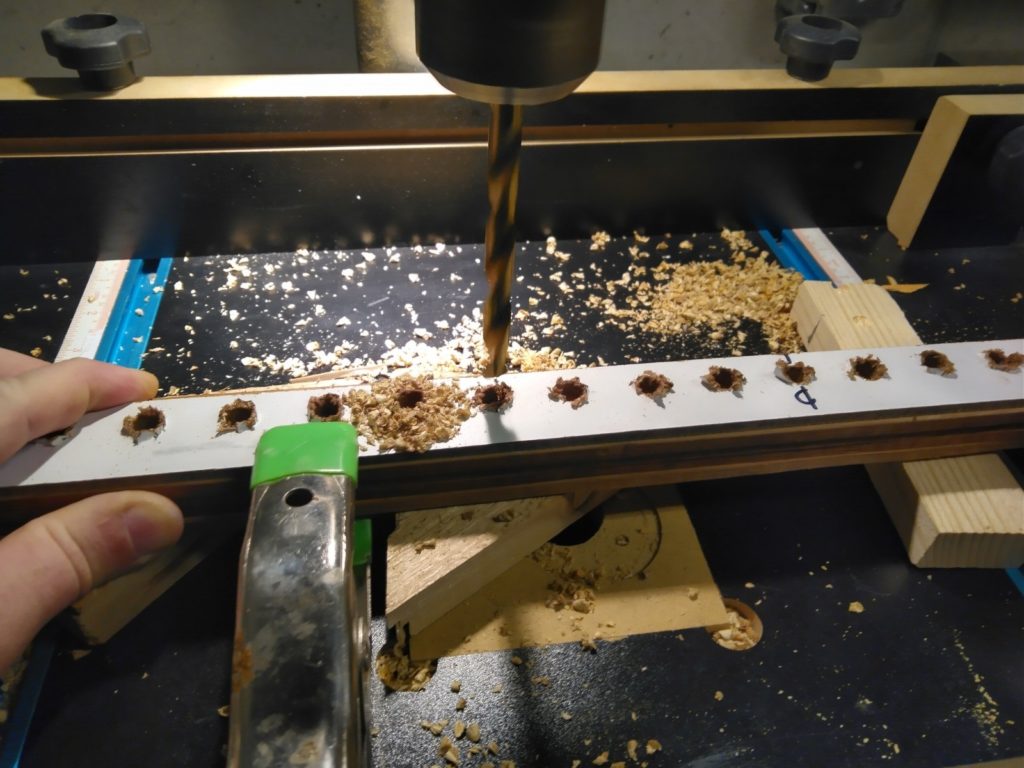
Before drilling, be sure to do several test holes in the material that will be used for the star sections to find the drill bit size that allows the bulb socket to be snugly pressed into the hole. The center hole should be 1/4″ to fit a carriage bolt that will join the star sections together.
After drilling all the slats for the stars, start assembling the star by pressing the bulb sockets into the holes of the first section. For the two bulbs on either side of the center hole, press the sockets all the way through the hole. Now use hot glue to secure the all of the sockets except the two in the middle to the back of the slat.
For the second section, use hot glue to attach two or three washers around the center hole on what will be the back side. Then pass the section under the wires at the center of the first section. Insert a 1 1/2″ or 2″ carriage bolt and secure it temporarily with a nut.
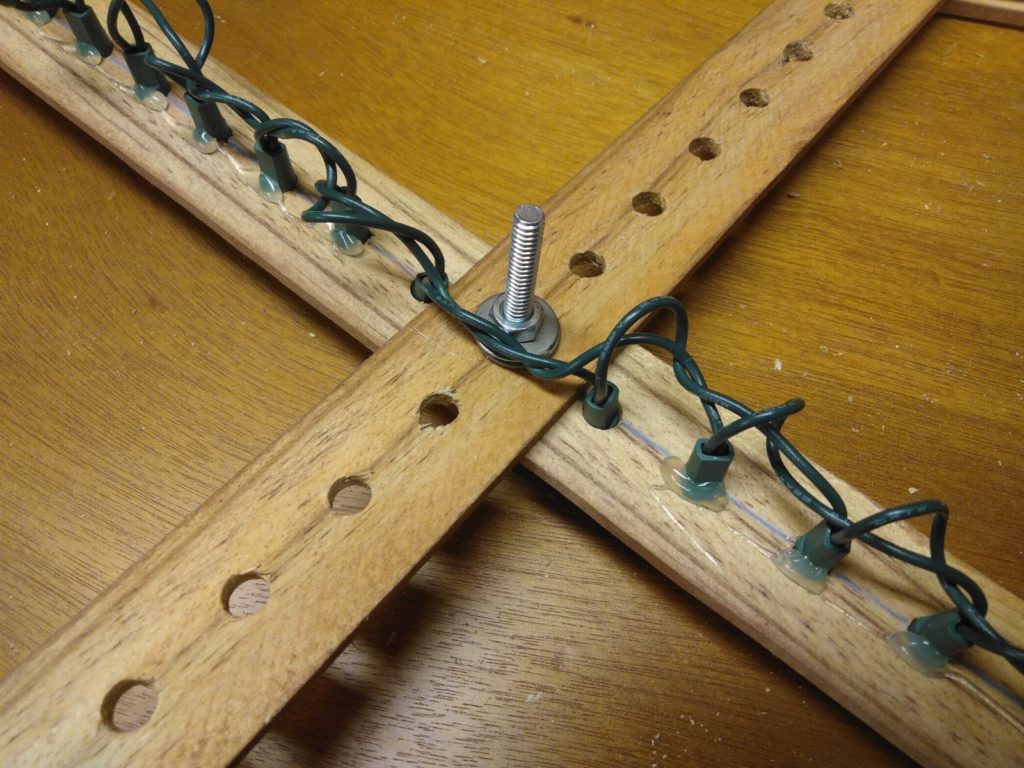
The lights can now be added to the second section. Be sure to tuck the wires down on one side of the washers at the center.
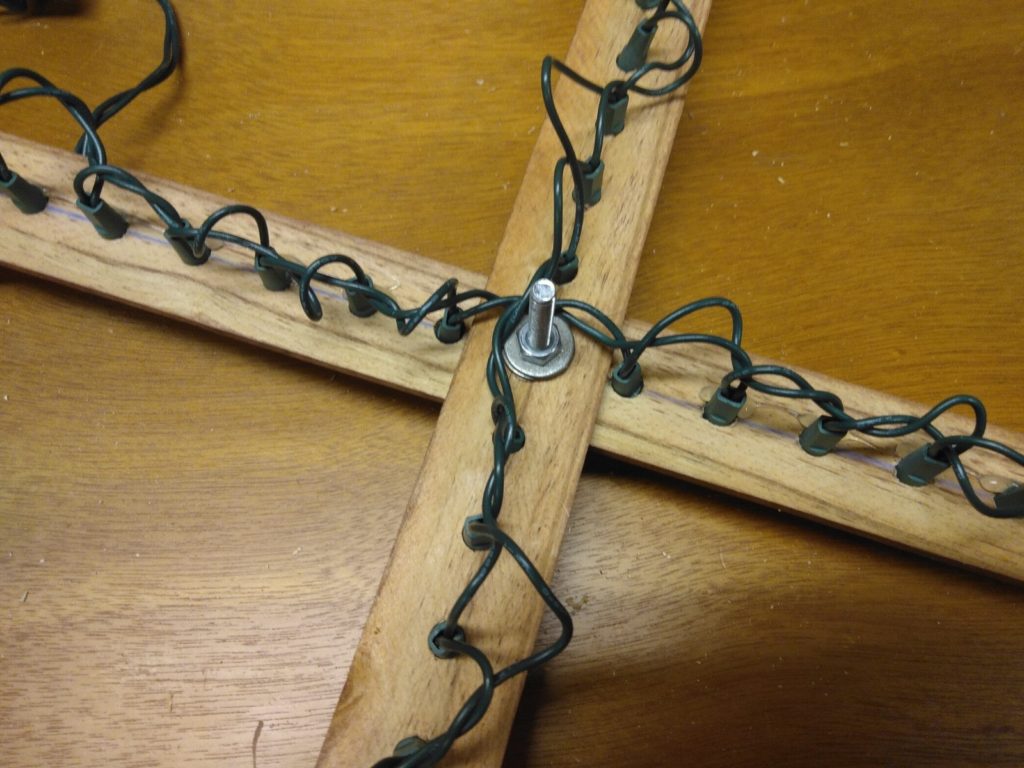
Now remove the nut and place the 3rd and 4th sections into the carriage bolt making sure to tuck the wires down to the side of the washers. Secure the all the sections together with a washer and nut.
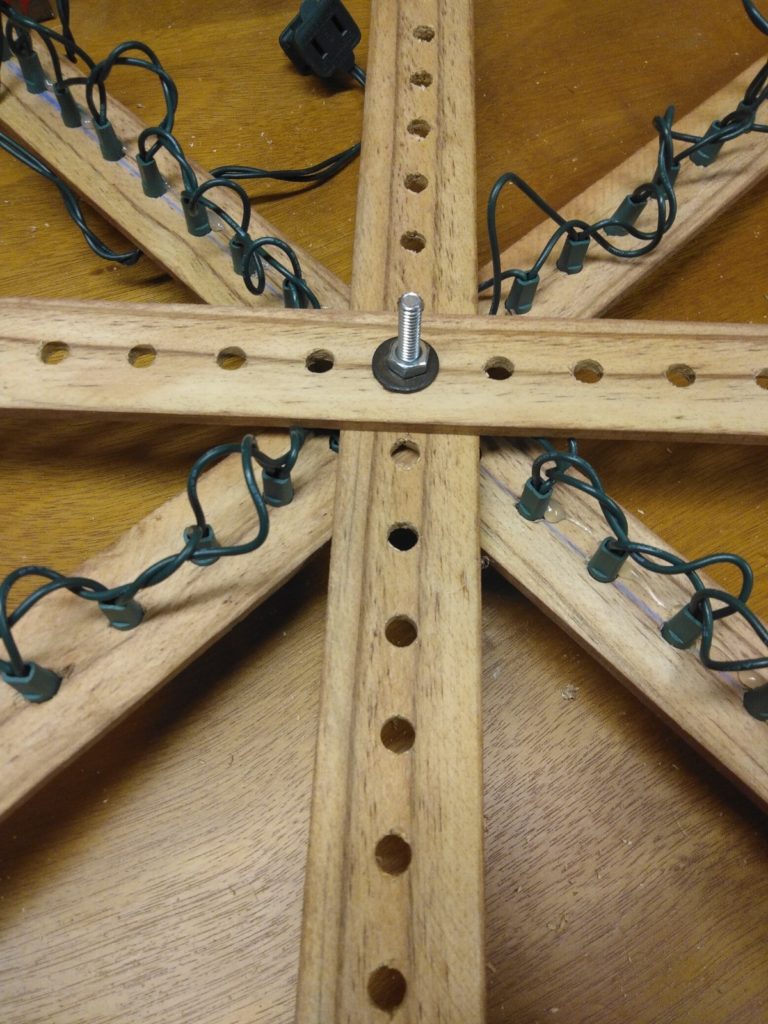
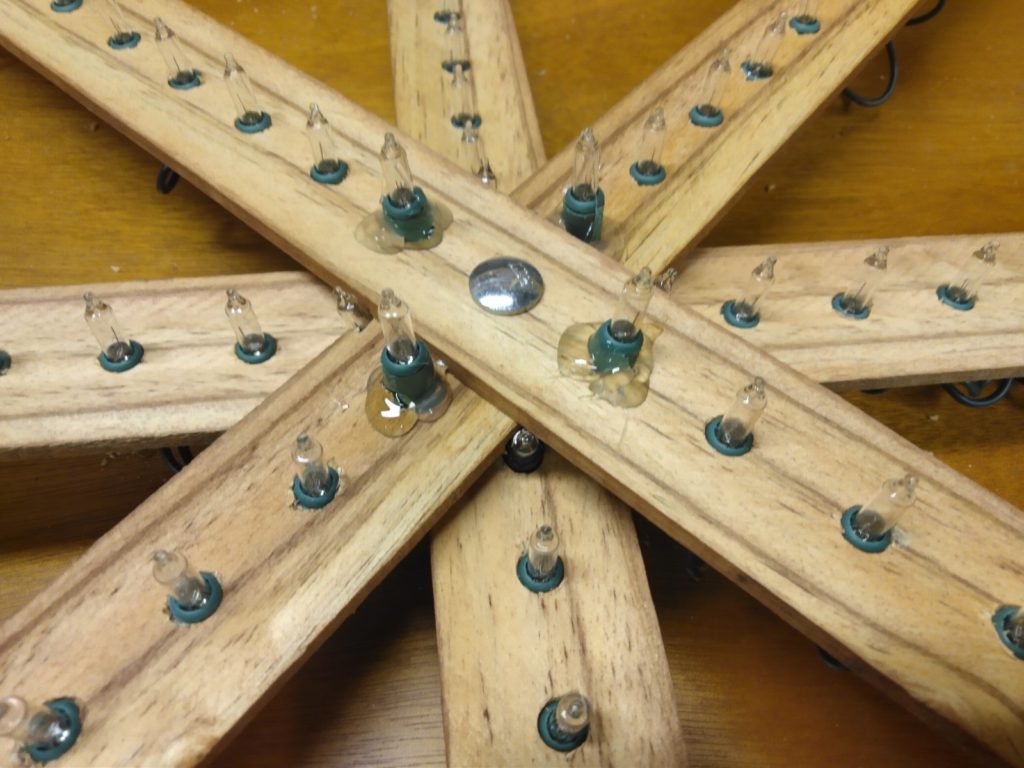
The remaining strands can now be added. The holes on either side of the center will be partially obscured by the first two sections so it may be necessary to drill the holes again at an angle so the sockets can be inserted. After all of the sockets are inserted, they can be secured with hot glue.
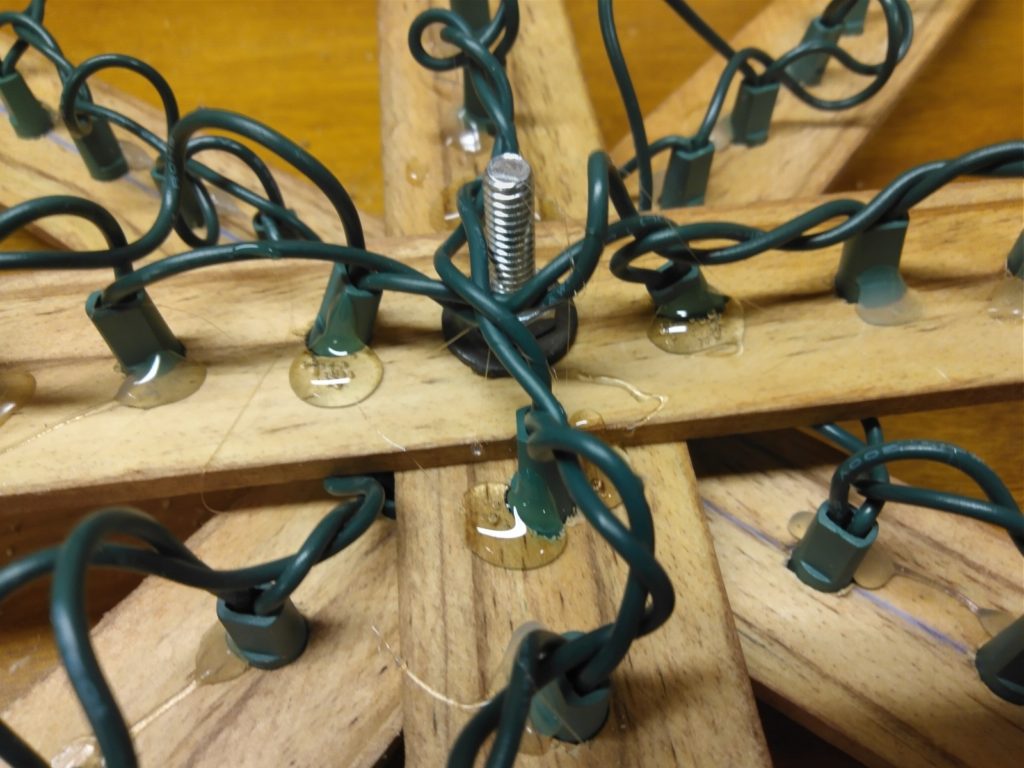
Now on the front side, press the lights around the center of the first two sections down as far as possible and secure with hot glue.
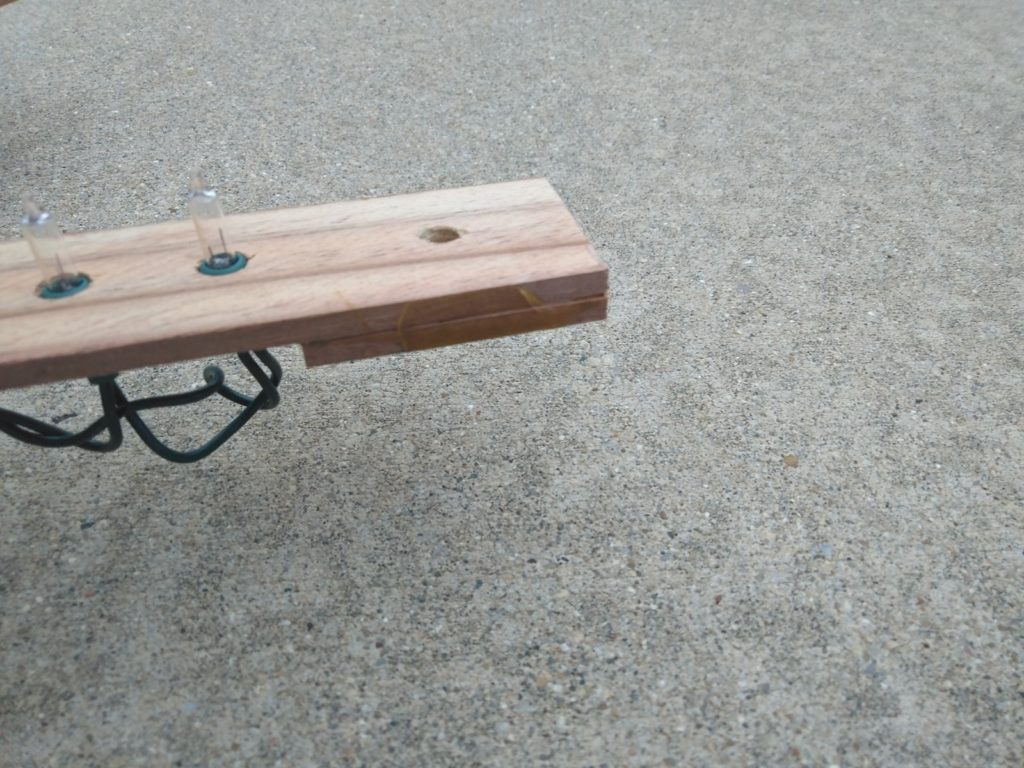
To finish the star, I trimmed the extra length off the ends of the star sections except for the one that was to be the top. For that one I left around 2″ of material above the last light and then glued a doubler piece on the back side. Once the glue dried, I drilled a 1/4″ hole to use to insert a wire to hang the star. Cable ties were used to tidy up the extra wire leading from the stacked plugs.



One thought on “Snowflake Star Christmas Lights”