IKEA can be intimidating. The store is humongous and the options are seemingly endless. It takes some study to narrow down the options to find what you need. In my case I needed a laundry cabinet above the washing machine. This cabinet will store the detergent and other laundry supplies. While the big box home centers have stocked a plethora of options for oak and white thermofoil/melamine kitchen cabinets, there was a big problem. In test fittings at the store, it became obvious that none of the currently available laundry detergent dispenser jugs will actually fit in a standard 12″ deep upper cabinet.
I thought about custom building a cabinet but it seemed like there should be something commercially available for this purpose. Meet the SEKTION cabinet line from IKEA.
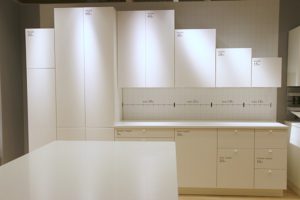
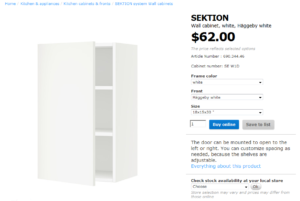
The SEKTION line of cabinets turned out to be exactly what I needed. To start with, SEKTION upper cabinets are all 15″ deep instead of the standard 12″. I my case, I needed a single door upper cabinet. Within this one variation of cabinet, there are 17 different height and width (12″, 15″, 18″, 21″ & 24″) options available. There are also many different choices in door styles available. I ended up choosing a 18″ W x 30″ H cabinet with the very basic white ”Häggeby” door.
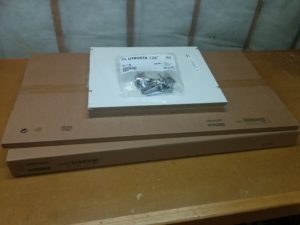
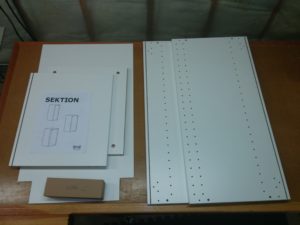
After obtaining a pick ticket and paying at the store, I went to the pickup area and got a nice tidy bundle of packages brought out to me on a cart. Since the cabinets are modular, the individual components are picked that make up the finished unit that is desired.
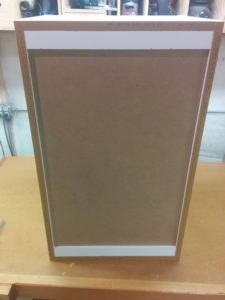
The only issue now is assembling and mounting the cabinet. It turns out there is a small problem that must be overcome. The cabinet system is designed to be mounted on a hanging rail system. To make the installation easier, a metal hanging rail is screwed to the wall studs and the cabinets are hung from it. The only downside to this system is that it holds the cabinets out from the wall slightly. In my case, I decided not to use the hanging rail system for just one cabinet. This required some modifications to the cabinet box as seen below.
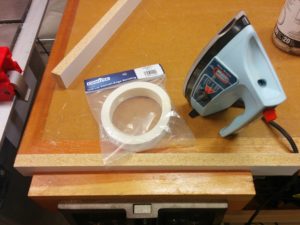
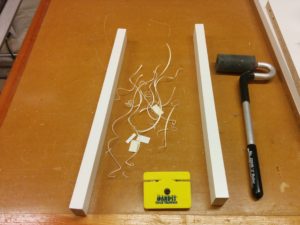
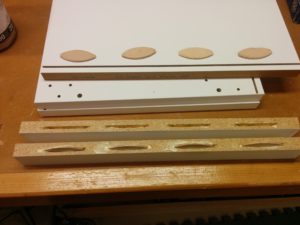
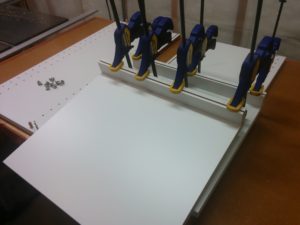
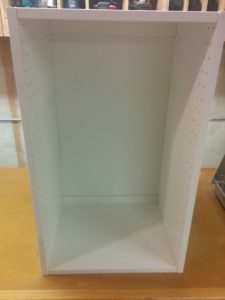
To avoid using the hanging rail system, nailer strips needed to be added to the top and bottom of the cabinet box. I used 3/4″ x 1 1/2″ melamine strips to accomplish this. I cut biscuit slots in the strips so the #20 biscuits would align with the groove in the cabinet that was intended to accept the back panel. I then applied a melamine edge banding to the two strips before cutting new grooves in the top to accept the back panel. The biscuits and then glue were then applied to secure the nailer strip to the top and bottom panels of the cabinet.
After the glue dried, the cabinet was assembled per the IKEA instructions (cam locks, cam screws and dowels) after cutting the back panel down to the size needed (26 1/8″) to fit between the newly installed nailing strips.
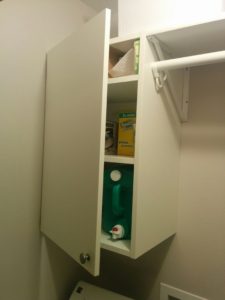
Below is the completed cabinet with the door installed after screwing it directly to the wall studs through the newly installed nailing strips. It holds all of my laundry supplies quite comfortably.


Recent Comments